Easy No-Bake Oreo Dirt Cake Recipe
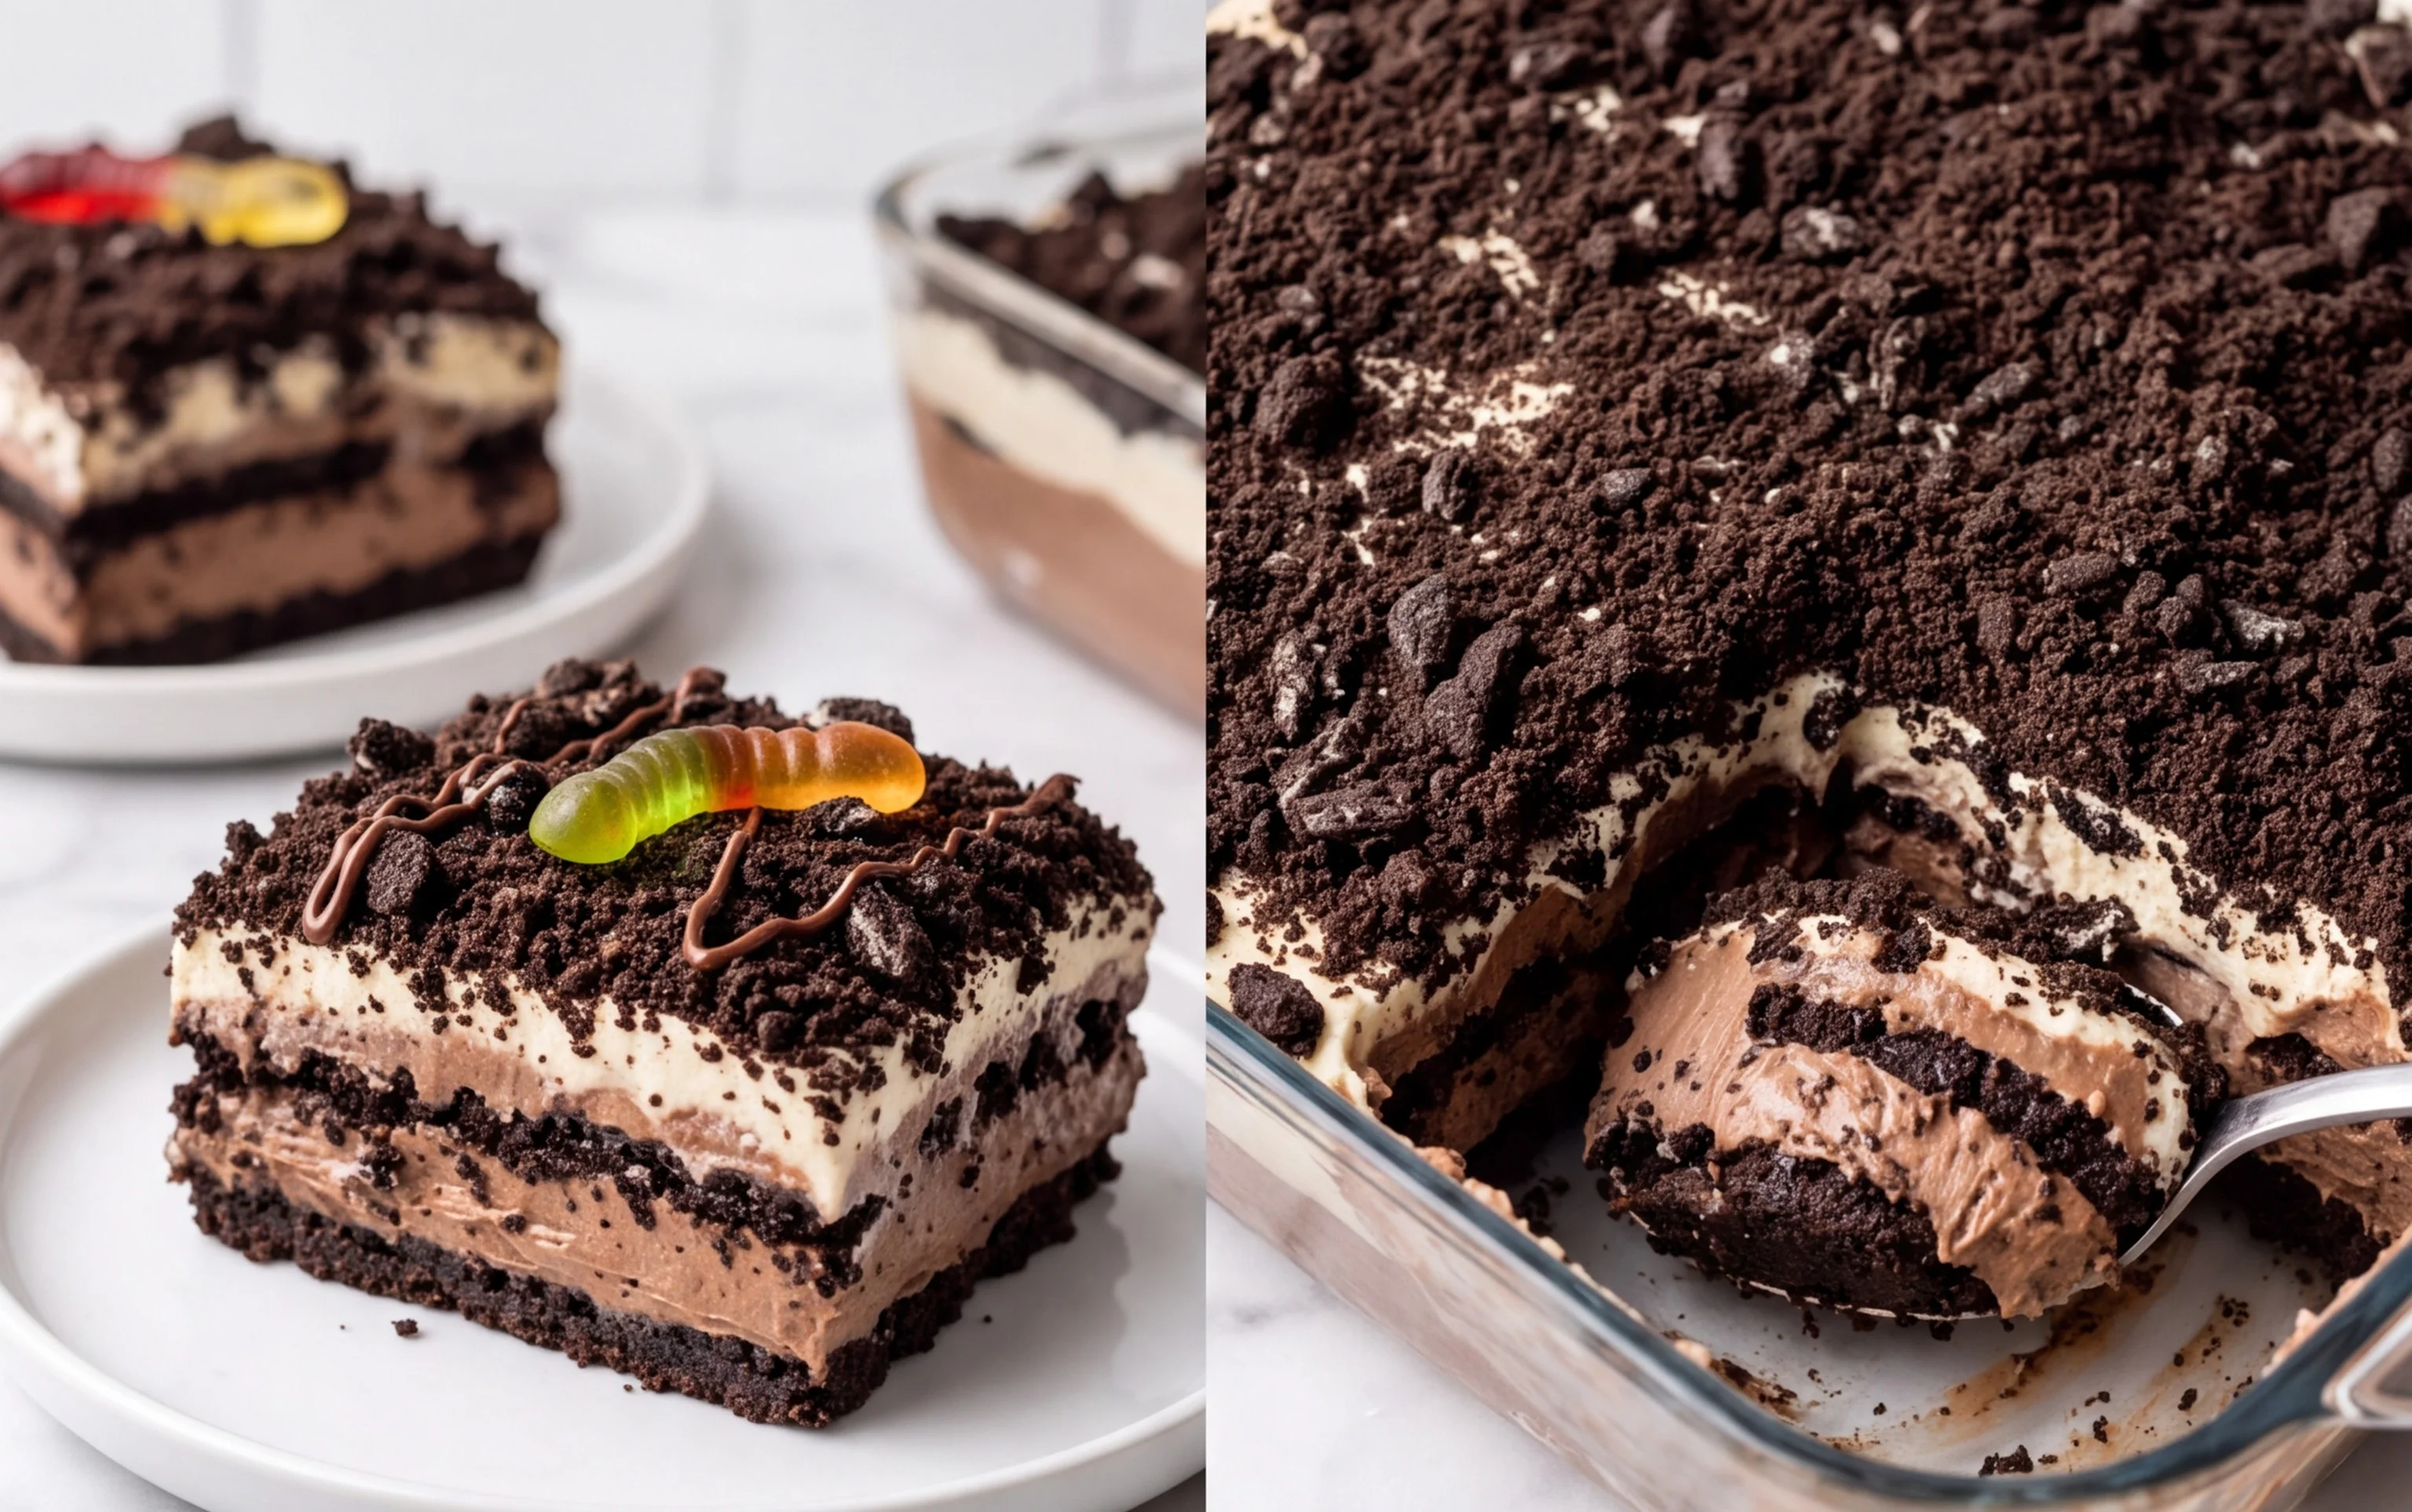
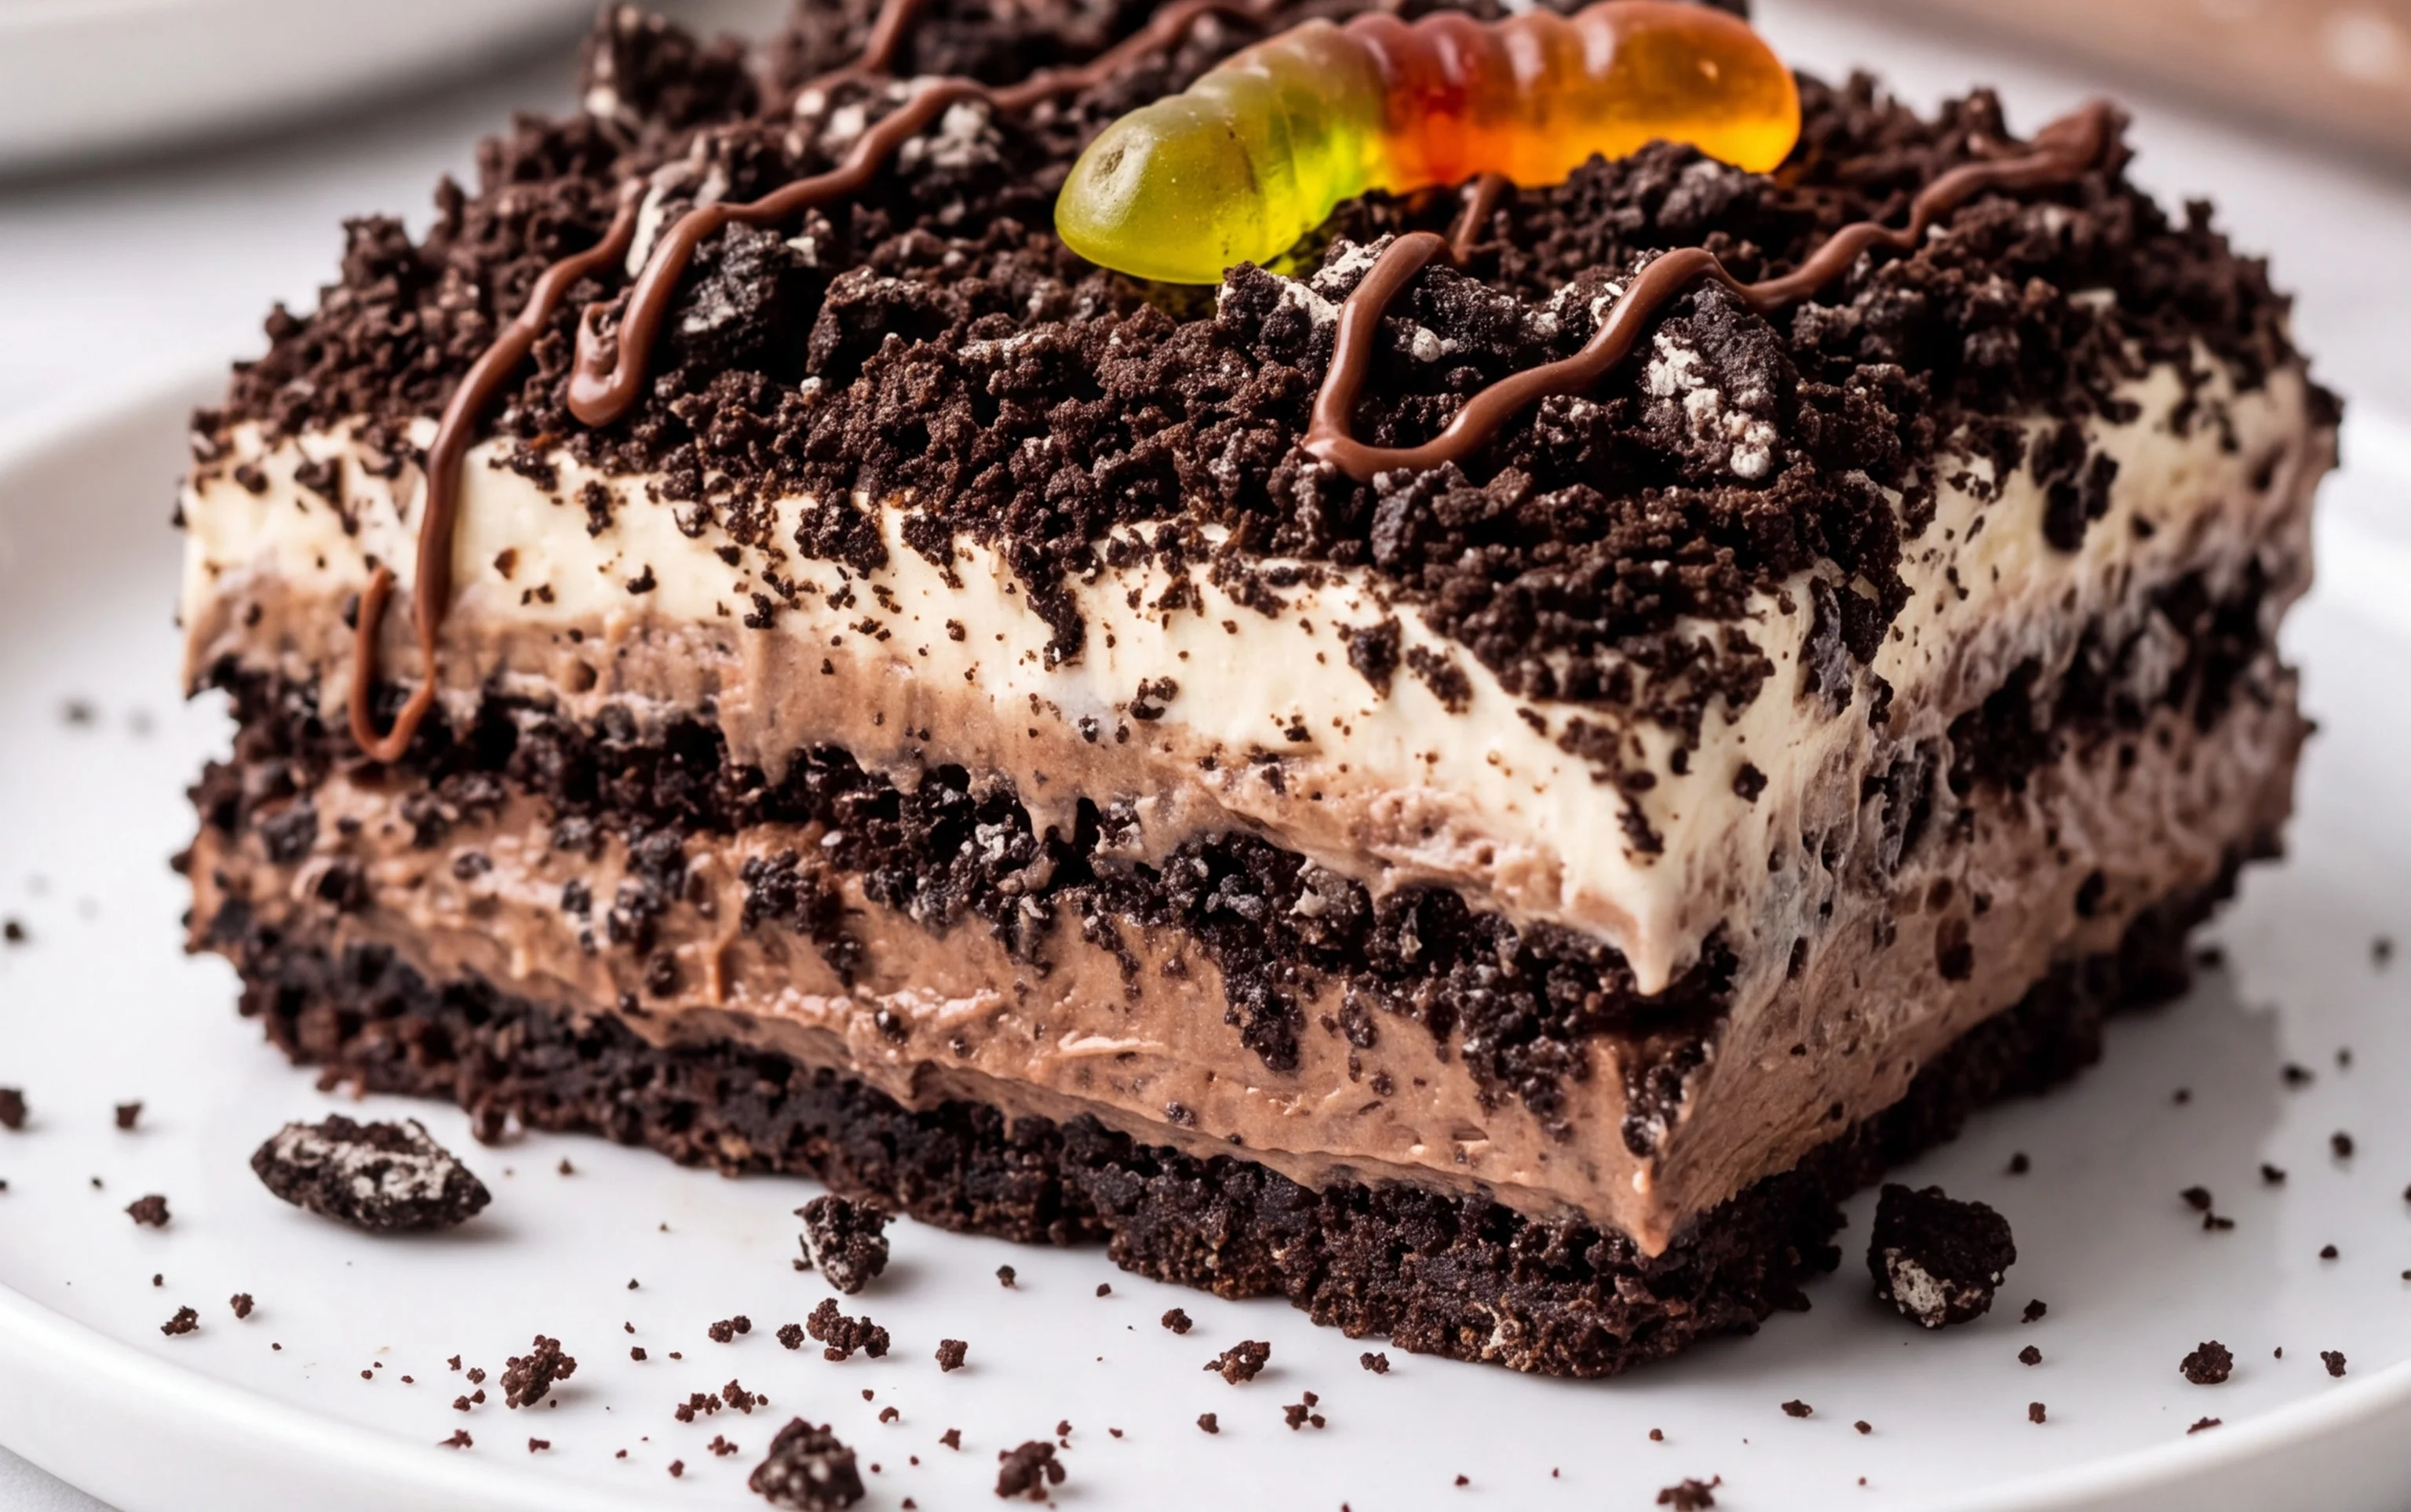
Oreo Dirt Cake. Oh, the sheer joy that erupts when this classic dessert makes an appearance! If you’ve ever experienced the delightful crunch of chocolate cookie crumbs mingling with cool, creamy pudding and sweet whipped topping, then you understand the magic of Oreo Dirt Cake. It’s a crowd-pleaser for a reason: it’s ridiculously easy to assemble, requires no baking whatsoever, and tastes like pure, unadulterated fun in a dish. What truly makes this Oreo Dirt Cake so special is its whimsical presentation. It’s a playful nod to childhood, resembling a miniature garden bed, complete with ‘dirt’ made from crushed Oreos and often adorned with gummy worms for an extra touch of delightful silliness. It’s the perfect dessert for birthdays, potlucks, or just when you need a dose of delicious nostalgia.
Oreo Dirt Cake
Get ready to dig into a dessert that’s as fun to make as it is to eat! Our Oreo Dirt Cake is a delightful no-bake layered treat that’s perfect for parties, potlucks, or just a sweet craving. It combines the rich flavor of chocolate cake with creamy pudding and, of course, plenty of crushed Oreos for that signature “dirt” look. This recipe is surprisingly easy and always a crowd-pleaser. Let’s get started!
Ingredients:
- 1 box chocolate cake mix (plus ingredients on back of box, typically eggs, oil, and water)
- 12.8 oz hot fudge sauce
- 3.4 oz instant chocolate pudding mix
- 1 3/4 cups milk
- 30 Oreo cookies (crushed)
- 3.4 oz instant chocolate pudding mix
- 1 3/4 cup milk
- 8 oz Cool Whip, thawed
Preparing the Chocolate Cake Base
The foundation of our delicious dirt cake begins with a moist and rich chocolate cake. You’ll want to follow the instructions on your chosen chocolate cake mix box precisely. This usually involves combining the cake mix with eggs, oil, and water. Preheating your oven to the temperature specified on the box is crucial for even baking. While the box instructions will guide you on the batter consistency and baking time, I find that using a good quality chocolate cake mix really enhances the overall flavor of this dessert. Make sure to grease and flour your baking pan thoroughly to prevent any sticking, which would be a shame! Once baked, allow the cake to cool completely on a wire rack before proceeding. We don’t want any warm cake bits mixing into our creamy layers.
Creating the Creamy Pudding Layers
Now for the creamy goodness! We’ll be making two distinct pudding layers to add complexity and irresistible texture. In one medium-sized bowl, whisk together one package of instant chocolate pudding mix with 1 3/4 cups of milk. It’s important to use cold milk here, as this helps the pudding thicken properly. Whisk vigorously for about two minutes until the pudding starts to set. Let this mixture sit for about 5-10 minutes to fully thicken. Repeat this process in a separate bowl with the second package of instant chocolate pudding mix and another 1 3/4 cups of milk. You should end up with two beautifully set bowls of chocolate pudding.
Assembling the Dirt Cake Layers
This is where the magic really happens and our dessert starts to resemble a delightful patch of earth! First, take your completely cooled chocolate cake and crumble it into bite-sized pieces. You can do this directly in your serving dish or in a separate bowl. Next, in a large serving dish or individual cups, begin layering. Start with a layer of crumbled chocolate cake. Then, spread a generous layer of the hot fudge sauce over the cake. This hot fudge sauce is key to adding that deep, decadent chocolate flavor that complements the Oreos and pudding so well. Make sure to spread it evenly to cover most of the cake layer.
The Creamy Dream and Cookie Crumble
After the hot fudge layer, it’s time for our first pudding layer. Carefully spoon or spread half of the thickened chocolate pudding over the hot fudge sauce. Don’t worry about making it perfectly smooth; a rustic look is part of the charm! Now comes the star of the show: the crushed Oreos. Reserve about half of your crushed Oreos for the very top layer. Sprinkle a generous amount of the crushed Oreos over the pudding layer. This is your first layer of “dirt”! Next, gently spread the thawed Cool Whip over the Oreo layer. This creates a light and airy contrast to the denser pudding and cake. It’s important that the Cool Whip is fully thawed but not melted, otherwise, it can make the layers too watery.
The Grand Finale: More Layers and Final Touches
We’re almost there! Now, repeat the layering process. Add the remaining crumbled chocolate cake on top of the Cool Whip layer. Drizzle or spread the remaining hot fudge sauce over this cake layer. This ensures that every bite gets that delicious fudgey goodness. Then, carefully add the second prepared chocolate pudding layer over the hot fudge. Finally, it’s time for the pièce de résistance: the remaining crushed Oreos. Sprinkle them generously over the top, making sure to cover the pudding completely to achieve that authentic “dirt” appearance. For an extra touch of fun, you can even tuck in a few whole Oreo cookies or some gummy worms to really sell the dirt theme. Cover the dirt cake tightly with plastic wrap and refrigerate for at least 2 hours, or preferably longer, to allow the flavors to meld and the layers to set properly. This chilling time is crucial for the best texture and taste. Enjoy your delightful Oreo Dirt Cake!
Conclusion:
I hope you’re as excited as I am to dive into making this delightful Oreo Dirt Cake! This recipe truly is a winner because it’s incredibly easy to assemble, requires no baking, and delivers a universally loved flavor combination. The rich, creamy pudding layered with crushed Oreo “dirt” and sweet whipped topping is a guaranteed crowd-pleaser, perfect for potlucks, birthdays, or just a fun family dessert. Whether you’re a seasoned baker or a kitchen novice, you’ll find this recipe to be incredibly forgiving and rewarding.
Serving suggestions are as endless as your imagination! I love serving individual portions in small mason jars or clear plastic cups for a charming presentation. You can also assemble it in a large trifle dish for a stunning centerpiece. Don’t be afraid to get creative with variations! Consider adding gummy worms for that extra “dirt” effect, a layer of chocolate chips for added texture, or even using different flavored puddings like cheesecake or vanilla. This Oreo Dirt Cake is a fantastic base for customization. I truly encourage you to give this recipe a try – it’s a simple way to create a memorable and delicious treat that everyone will adore. It’s such a fun and satisfying dessert to whip up!
Frequently Asked Questions:
Can I make this Oreo Dirt Cake ahead of time?
Absolutely! In fact, making it a few hours ahead of time (or even the night before) is highly recommended. This allows the flavors to meld together beautifully and ensures the pudding has set nicely. Just cover it tightly with plastic wrap and store it in the refrigerator.
What if I don’t have Oreo cookies?
While Oreos are classic for a reason, you can absolutely use other chocolate sandwich cookies. Any brand of chocolate cookie with a cream filling will work wonderfully to create that essential “dirt” layer for your Oreo Dirt Cake.
Oreo Dirt Cake
A classic no-bake dessert featuring layers of chocolate cake, hot fudge, creamy pudding, crushed Oreos, and whipped topping, resembling a dirt cup.
Ingredients
-
1 box chocolate cake mix (plus ingredients on back of box)
-
12.8 oz hot fudge sauce
-
3.4 oz instant chocolate pudding mix
-
1 3/4 cups milk
-
30 Oreo cookies (crushed)
-
3.4 oz instant chocolate pudding mix
-
1 3/4 cup milk
-
8 oz cool whip, thawed
Instructions
-
Step 1
Prepare and bake chocolate cake according to box directions. Let cool completely. -
Step 2
Crumble the cooled chocolate cake into fine crumbs. -
Step 3
In a large bowl, whisk together the instant chocolate pudding mix and 1 3/4 cups of milk until thickened. Let set for a few minutes. -
Step 4
Gently fold the thawed Cool Whip into the pudding mixture until well combined. -
Step 5
In a large serving dish or individual cups, layer the ingredients: begin with a layer of crumbled cake, followed by a layer of hot fudge sauce, then a layer of the pudding and Cool Whip mixture, and finally a generous layer of crushed Oreo cookies. -
Step 6
Repeat the layering process until all ingredients are used, ending with a layer of crushed Oreos on top to resemble dirt. -
Step 7
Chill for at least 1 hour before serving to allow flavors to meld and the cake to soften.
Important Information
Nutrition Facts (Per Serving)
It is important to consider this information as approximate and not to use it as definitive health advice.
Allergy Information
Please check ingredients for potential allergens and consult a health professional if in doubt.